Stencil Ease is the largest specialty stencil manufacturing company in the USA. Founded in 1980 we have installed state of the art CNC laser machines, personnel, and expertise to make stencils for virtually any situation or need. We have the capability to cut extremely small text down to 1/16th inch for military product numbers up Football field Logos. We are specially set up to produce large quantity stencils at very advantageous prices. The range of our stencil products is extensive and includes Letter Stencils, Parking Lot Stencils, Playground Stencils and Custom Stencils. We serve architects, graphic designers, interior decorators, playground and sports field painters, and parking and road striping contractors. Sign shops use us regularly to specialty stencils. We manufacture for many designers as well as design our own stencils. Our customers range from large cities and schools to small business and home designers. Basically, anywhere you see paint designs on pavement, walls or any surface; you can be sure our fine products have been used. We maintain a large stock and efficient logistics structure to ensure that your order is shipped quickly. Find designs that range from Industrial Airport Stencils to Custom Logo Stencils for your business. We have it all here.
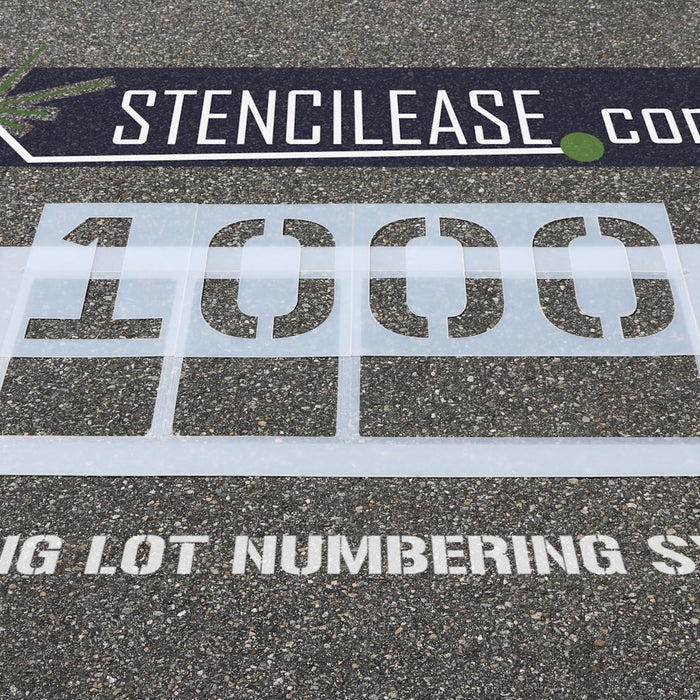
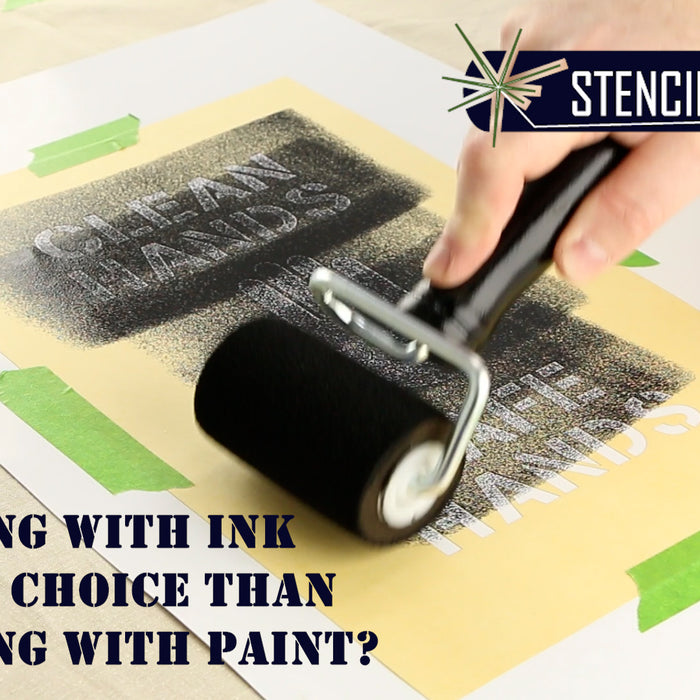
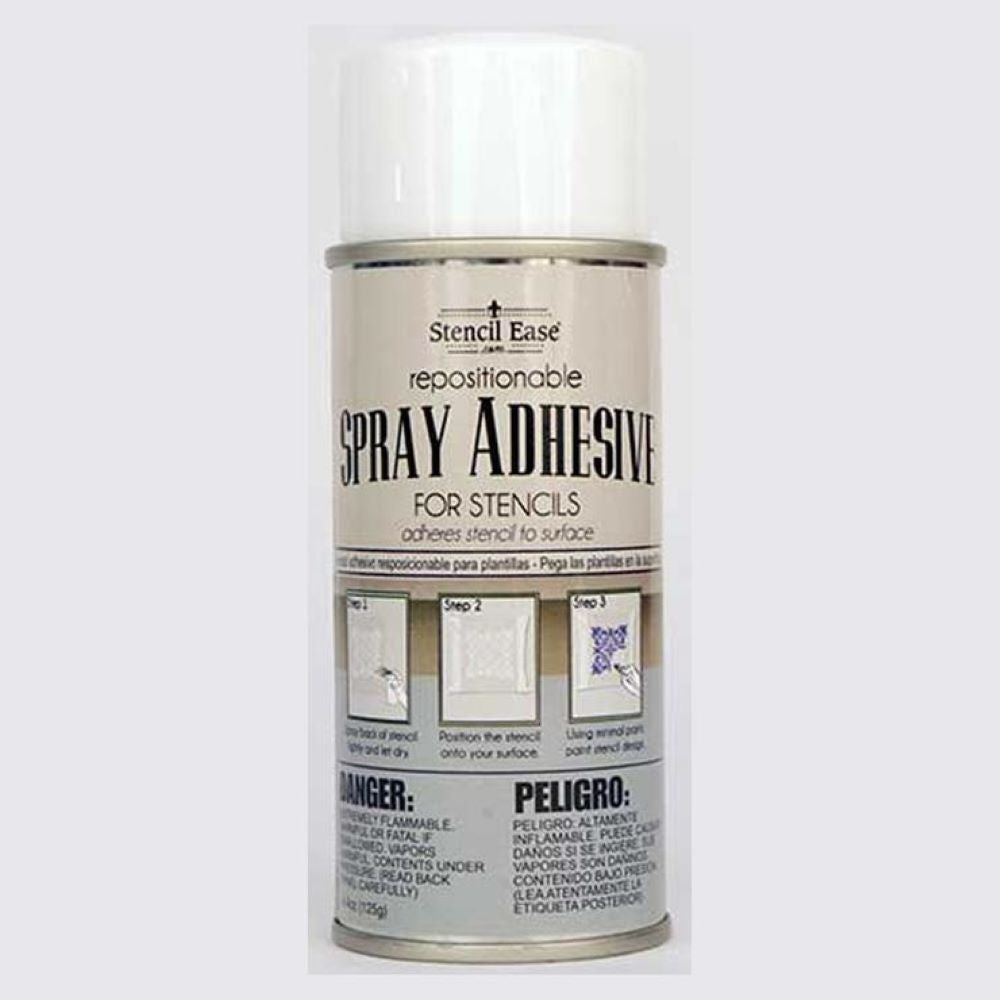
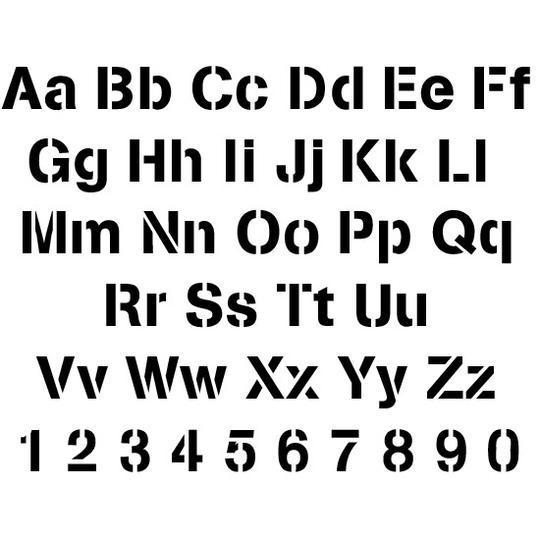
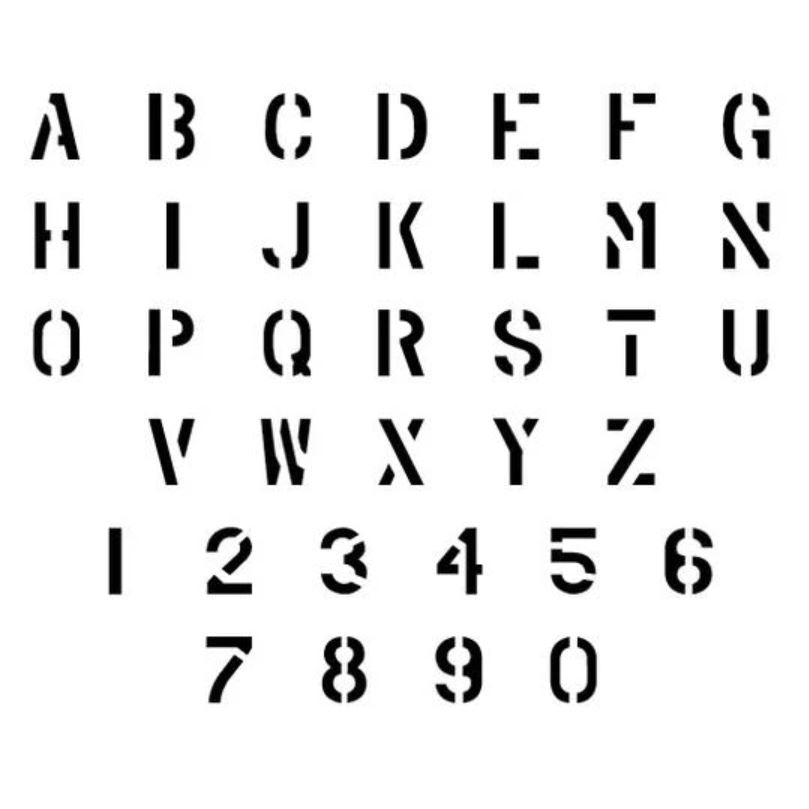
Call us at 1-800-334-1776 if you have any questions. Need an odd size number stencil? We have every size available for striping contractors and curb painters as well as hundreds of choices of Alphabet Stencils. We also offer many film grades from industrial grade LLDPE 1/8 inch thick plastic to Adhesive Backed Films. You can also customize any existing stencil in our online collection or create your own Custom Stencil.
Order today and see what makes Stencil Ease the industry leader. Most standard product orders ship within 2-3 days with the exception of custom stencil orders.