When is Stenciling with Ink a Better Choice Than Stenciling with Paint?
Posted by HEATH BRUSCATO

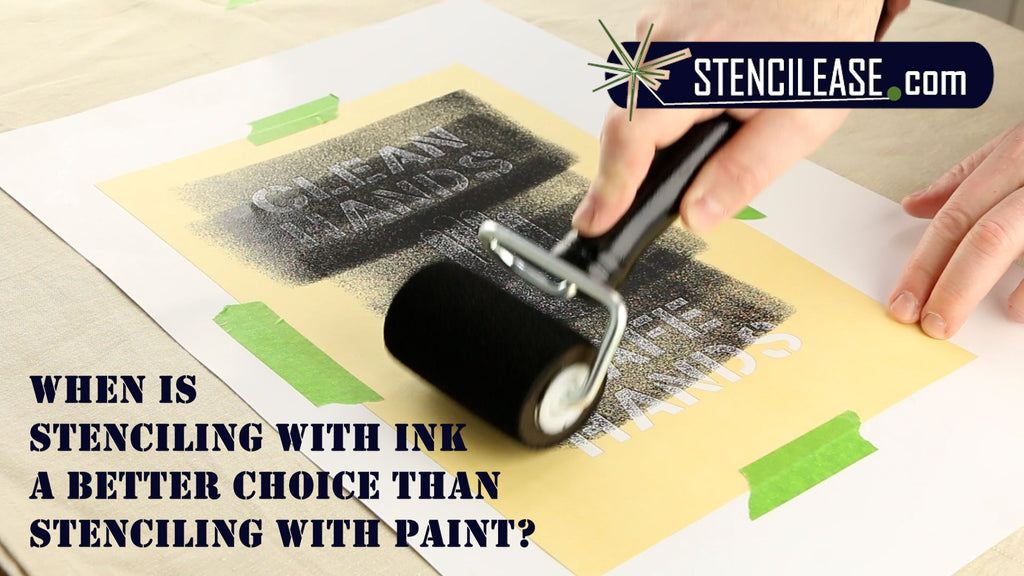
When is stenciling with ink a better choice than stenciling with paint? Ink Rollers and Ink Pads Oneshot Ink Roller System Oneshot Color Ink Cartridge Refills Rolmark Fountain Ink Roller Rolmark Stencil Ink Marsh Spray Stencil Ink Marsh Fountain Brush The stencil inks featured on our website work great on wood, metal, cardboard, paper, and most plastics.Traditional inks don’t work well with stencils because they are designed to be absorbed, which leads to stencil bleeding.Stenciling ink is designed to be permanent, and to stick to most porous and non-porous surfaces. Try our Repositionable Spray Adhesive to keep your stencils flat...
How to Stencil on Rough Surfaces
Posted by RANDY JAMES

In general, it is best to stencil on a smooth and even surface. Stenciling on a rough surface is difficult and might not produce the best results. If the surface you are stenciling on is rough, there are a few things you can do to make your stenciling project easier and more effective. Here are our expert stenciling tips for how to stencil on a rough surface. The number one problem with stenciling on a rough surface is paint bleed. Paint bleed is when paint slips beneath the stencil template and blurs the stenciled design. You can prevent paint bleed...
How To Prepare Surfaces For Stenciling
Posted by MICHELLE ENGLE

Preparing surfaces to be stenciled depends on what you are stenciling. General Rule: Clean all surfaces before you stencil. (Wipe all dust off with a damp cloth before applying the stencil). For Rough Wood: sand wood and then clean it with a damp cloth. Wash and Dry Fabrics.
How To Clean Stencils
Posted by MICHELLE ENGLE

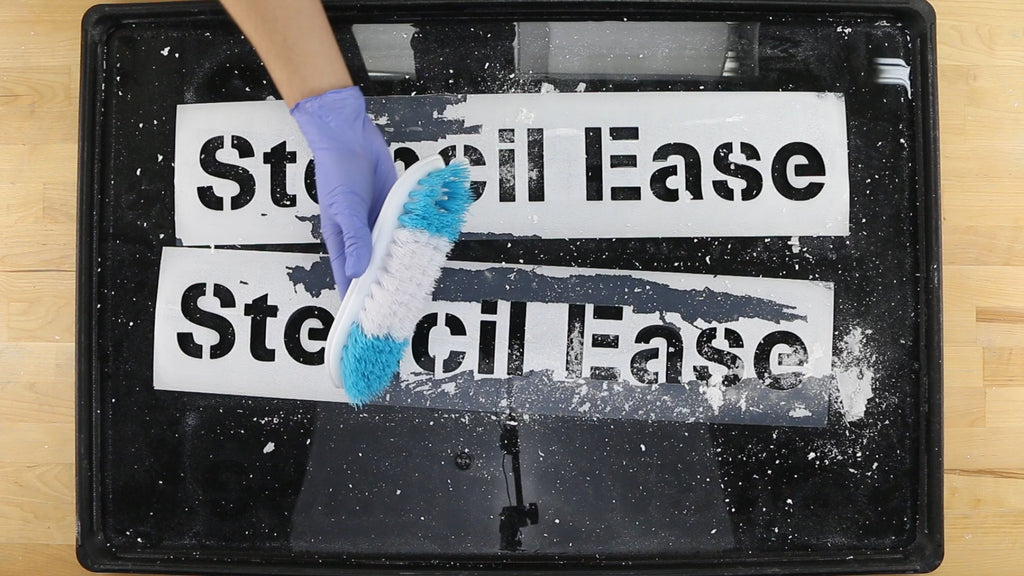
Always clean your stencils (and brushes) immediately after use. If you are stenciling a long project (such as a wall), periodically wipe paint off the stencil with a damp cloth or sponge to prevent the paint drying on the stencil. (Be gentle and don’t bend the cut-out design). When you have finished stenciling, give your stencil a final clean. Cleaning a stencil will depend on what type of paint you have used: oil-based or water-based paint. If you don't know what type of paint you are using, the paint can, or bottle will likely say if it is oil or water based....
How We Cut Our Stencils
Posted by MICHELLE ENGLE

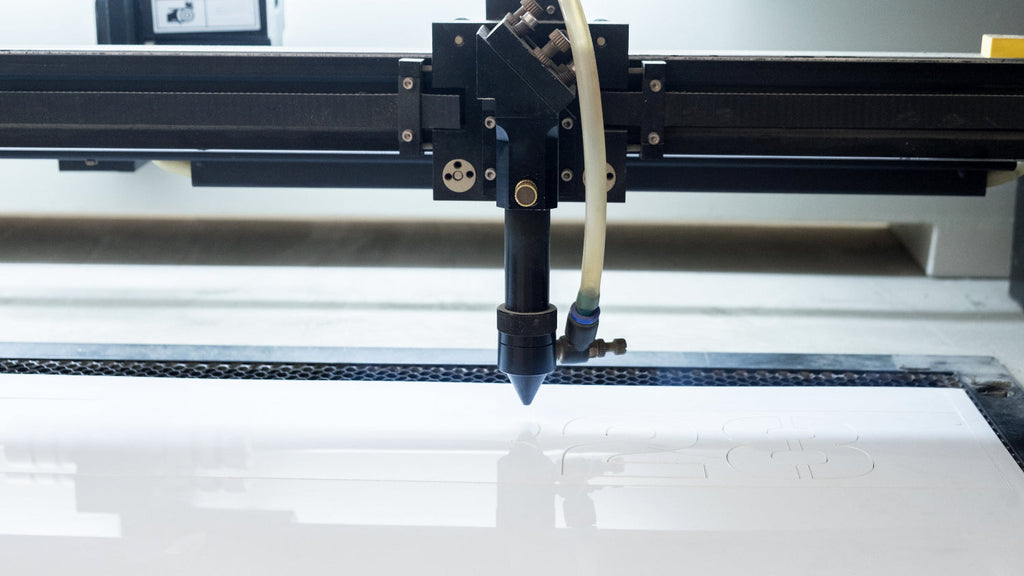
We use state-of-the-art C&C lasers to cut the majority of our stencils.
How Thick Is Our Stencil Material?
Posted by MICHELLE ENGLE

Stencil material is typically measured in mil, which is 1/1000th of an inch. Our popular 10 mil coated mylar is 1/100th of an inch. Our thicker stencil material, LLDPE, is offered in a standard version at 60 mil which is the same as 1/16 of an inch thick. Our contractor grade heavy-duty LLDPE is 125 mil or 1/8th of an inch. We use different grades of plastic in different thicknesses for different applications and a variety of prices. Please see our material selection guide to understand which material will be best for your use.
Are Our Stencils Pre-cut?
Posted by MICHELLE ENGLE

Aside from a few popular items, most of our stencils are cut to order. We have literally thousands of designs, and it would be impossible to keep inventory of all those pieces. Instead we maintain a high level of production capacity everyday so that most orders can be cut and shipped within 24 hours. Over 95% of our orders are shipped within 3 days of their order. We adjust our machines and work schedules to ensure that we can keep up with our customer demand. If you have a particular timing need we are always willing to try an meet your...
How to Use Adhesive-Backed Stencils
Posted by ALISON OLESEN

Using Adhesive backed stencils is tricky The factory applied adhesive is stickier than our repositionable spray and so you want to be careful with your placement to get it right the first time. This is especially true with vinyl as it can easily stretch and damage the stencil. Keep surface to be stenciled clean, wipe it with a slightly damp cloth to remove all dust. All fabric should be washed and dried (free of lint) prior to stenciling. Temporarily mark the spot where the stencil will be applied with a pencil or tape. Remove the backing form the stencil, Carefully...
How to Clean Parking Lot Stencils
Posted by JIM RANDOLPH

Cleaning stencils is one of the least fun jobs, But it is important to keep them free of paint. Dried paint will put stress on the stencil and can in some cases twist and curl it. The first recommendation is simple and will save you money but not always easy to do. Do not put paint on the stencil but put it through the stencil. A little paint on the edge of the cut outs is not a problem, but lots of excess paint on the entire stencil will cause it to curl. Still even with careful use as some point you...
