Basketball Court Stencils
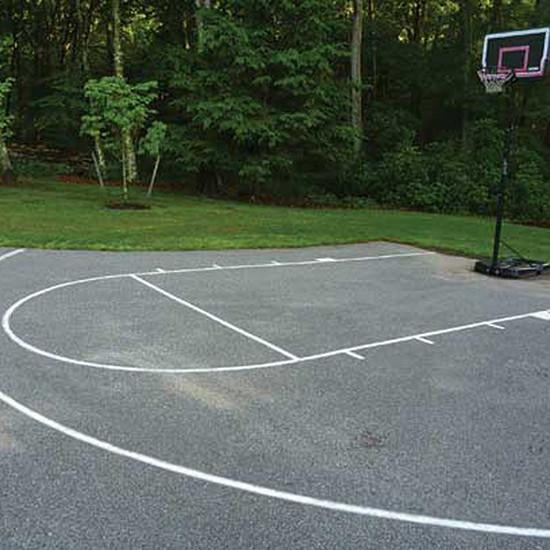
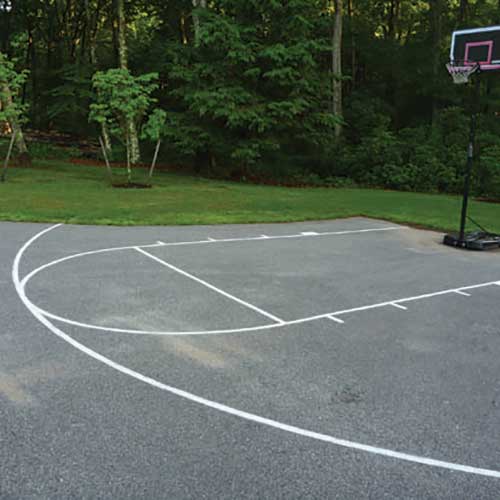
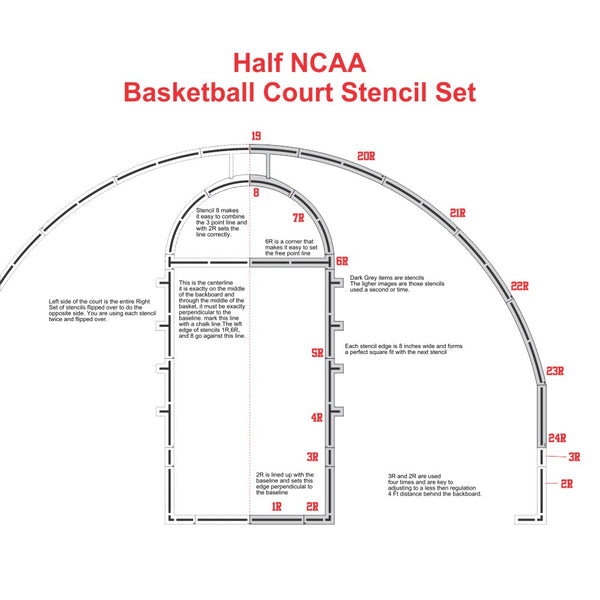
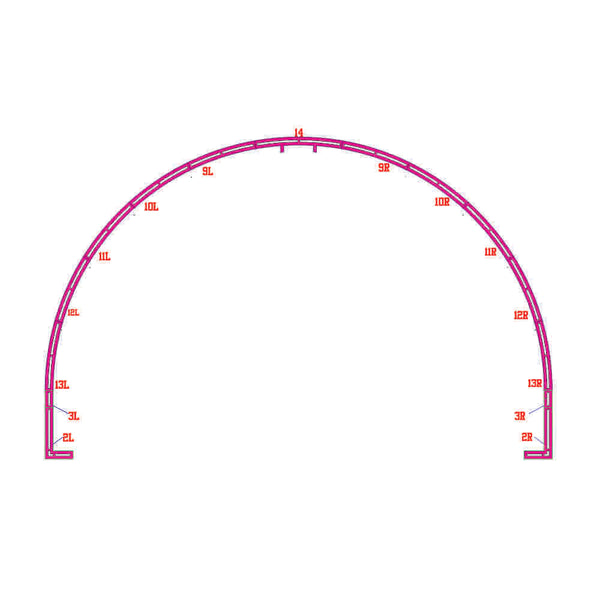
Simply the easiest way to paint a basketball court. Perfect for professionals and DIY. Our newly redesigned basketball stencil set makes it easy to layout and get all lines parallel and square.
Showing 12 products
SKU: CC0347-000-L060
SKU: CC0343-000-L060
SKU: CC0344-000-L060
SKU: CC0335-264-L060
SKU: SCC0327-000-L060
What are the new basketball court dimensions?
-
What are the new basketball court dimensions?
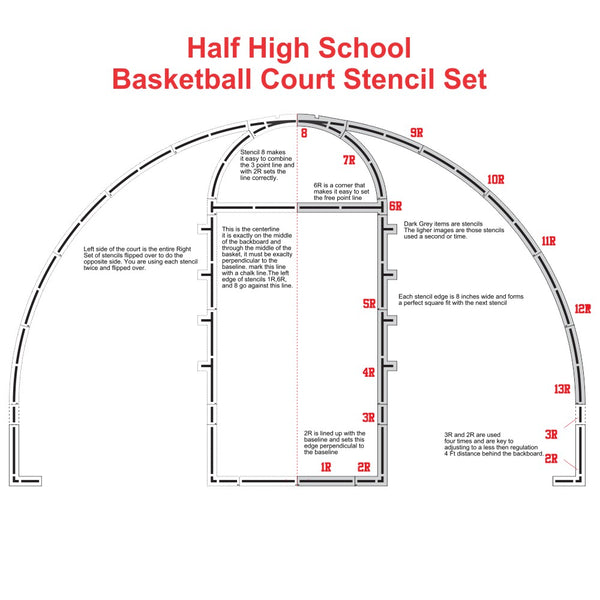
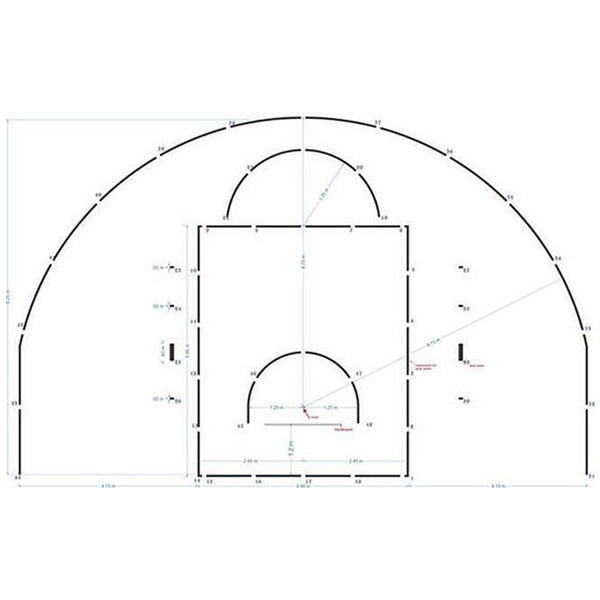
- For Division 1 Men, The 3 Point line has been moved back to 22 feet 1 3/4 inches. This is the same length as the International Basketball court standard. The 3 pt line was last moved in 2019 for Div 1 men and was adopted the NCAA women in 2 years later. High school remains at the shorter 19 ft 9inches and the NBA is at 23 ft 9 inches at the center and 22 ft 3 inches in the corners.

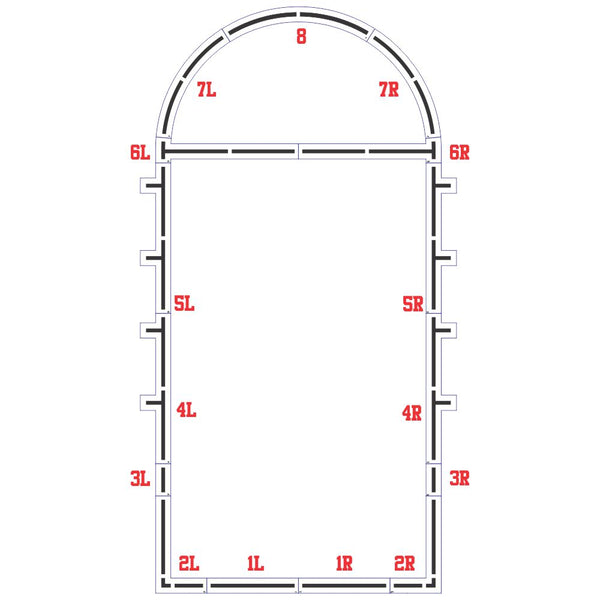
Click Here to zoom or print above image
Why our stencils make Basketball Court marking easy?
-
Why our stencils make Basketball Court marking easy?
- Our design requires just a couple of reference points so one can use normal household tools to start the design. Measurements are only there to check the alignment.
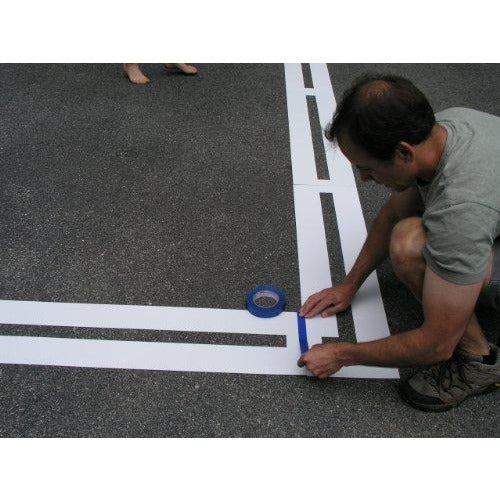
- Large corner pieces make it easy to start and stay square.
- All key markings are integrated reducing paint time and the number of stencils.
- We maximized the length of our stencil pieces to reduce the time and complexity of the stencil layout.
- Once laid out it is easy to see what the court will look like and to check alignment.
- Have reference marks to make it easy to check alignment.
- Detailed instructions with pictures.
- Designed to handle nonstandard court dimensions.
- Our material is durable and tough. It will not tear. It will not blow away. It can be used many times. Many of our customers tried and threw away a pizza box or trash can vinyl stencil. Neither works well.
- Our high-quality stencil material will lay flat but also does not stretch. it will make your lines the right length, straight and true. Your lines will also be a very consistent two-inch width.
Why is it so hard to stencil a basketball court?
-
Why is it so hard to stencil a basketball court?
- A basketball court requires long straight and square lines. Making sure that the key is square requires tools and techniques not in every home. either geometry or and laser square which not everybody can do. It is really easy to make a mistake and small errors are very noticeable. For example using a string and chalk to make a circle works great. We all did that as kids But with a 20 ft piece of string, we found that that string stretch makes it difficult to use this technique on a basketball court.
- Unlike a tennis court, the basketball court has straight lines, curved lines, and blocks all at precise dimensions. It is complicated and can take a while to measure and paint.
- The size of the court is so large that a small not noticeable error in one spot becomes glaring at the end. Repainting is not an option.
Why do we make our stencils out of 1/16th Inch LLDPE?
-
Why do we make our stencils out of 1/16th Inch LLDPE?
Our 1/16th in thick LLDPE is the perfect material for outdoor stencils and is used by professional line stripers. Why?
- Heavy enough to not be affected by the wind or spray equipment.
- It is also flexible and will lay perfectly flat.
- It is durable and will not stretch, tear, or rip. It can last for many uses.
Painting a Basketball Court with our Stencils
-
Painting a Basketball Court with our Stencils
- Paint the key: The key is the Key to getting a good result. Once it is laid out and square paint it and align the 3 point line to it.
- Painting lines: Spray painting is recommended. Our 1/16th inch plastic is tough to paint with a roller, possible but slow. See below for rolling our 1/16th inch stencil material.
- Spray Painting Tips: We like to choose bright colors and we prefer traffic road marking spray paint. For spray painting use the can as instructed. The key issue with spraying is to use multiple light coats and keep the can at least 6 inches away from the ground. As you are spraying keep the can moving along the line you want to spray.
- Use a Spray Box: We highly recommend a spray box. This is a cardboard box with both ends open, Out stencils, are an eight-inch width so a 6 – 8-inch wide box about 18 inches long and about 6 to 12 inches deep is perfect. Fold the panels in so that it forms a rectangle with two ends open. You might have to tape down the panels. Set this over the stencils and spray through it. This box will eliminate overspray, and it will also reduce how much spray paint disperses. If there is any wind you can lose a lot. Move the box to where you are spraying and go.
- Let the paint dry: Wait until the spray is dry to the touch on the ground. Then go have a well deserved drink. You earned it and wait an additional 15 minutes. You want to make sure that the paint in the corners of the stencil is dry. Lift up the stencils carefully Do not slide them, as any still wet paint could streak your line.
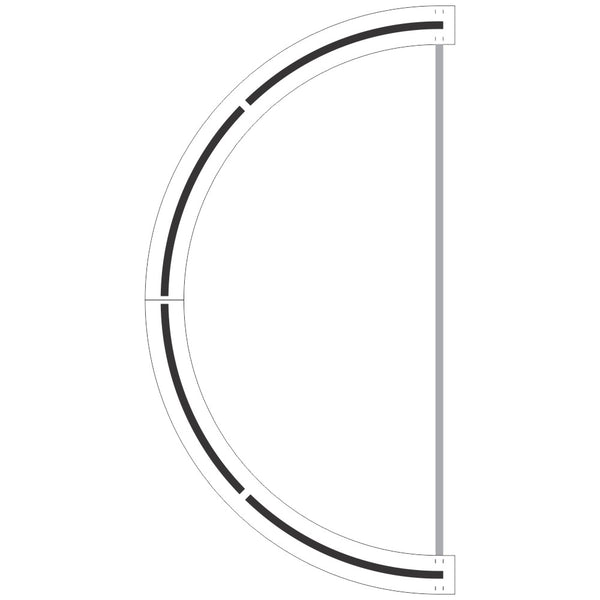
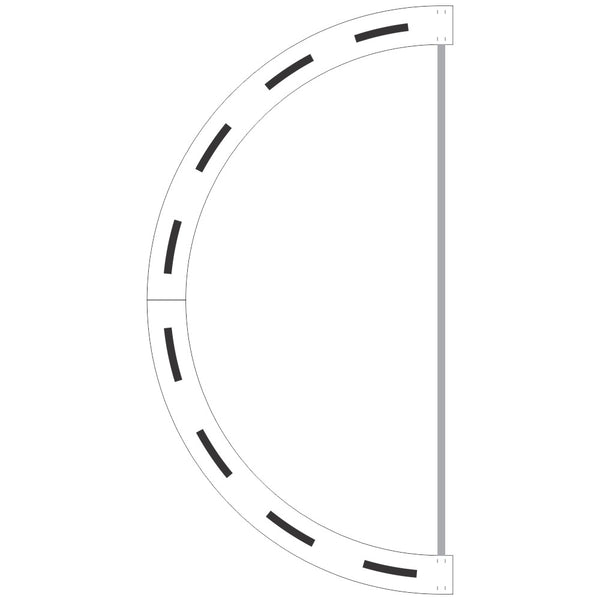
- Fill the Breaks: You will notice that there are several breaks where the stencil material was crossing the lines. To fill these in move a stencil so that the break is exposed but the line width is protected by the stencil. Use a straight stencil for a straight line and a curved stencil for curved lines. Fill the break with spray paint. Once all the breaks are done. You can move onto the three point line.
- Paint the 3 Point line: After the 3 point line is set. Repeat steps 3 – 6. This includes drink number 2. Stay hydrated my friend!
- Decorating the basketball court: These days many people want a fancy court like the professional teams. This is no problem and the stencils will help here as well.
- Painting the inside of the key: Pick your color. Go to your local paint store and ask them what will work best.
- Protect the lines: As these are all straight lines you can use painters tape to cover all of the lines of the key. Or my preferred method is to use a stencil to mask the edge of the key. Set the stencil along the line and you can use a little tape or weight to hold it.
- Paint the edges: Carefully roll along the edge of the stencil or tape with a lightly loaded roller (you do not want paint to be forced under the stencil or tape.) It is dry enough when you press on the edge of the roller and paint does not pool on the roller.
- Fill in the Middle: Once you have painted the edge of the court take the roller and fill in the middle of the court.
- Add a team logo or Text: We make plenty of team mascot stencils, or you can order a custom text or logo stencil. We love to help people decorate their court!
- Celebrate: Now that you have your court lined and decorated, invite the neighbors and have a refreshing beverage to celebrate a project well done. Take a picture and send it to us, we love to see beautiful basketball courts.
How many ways are there to Line a Basketball Court?
-
How many ways are there to Line a Basketball Court?
- Hand Marking and Painting Lines:
Cons: Hand measuring takes a long time, requires geometry to get lines square. Masking is slow and is particularly difficult for curved lines. Using a String and chalk to set the 3 Point line is problematic with string stretch.
- Using a mechanical double tape layer:
Cons: Tape Machine itself is very expensive. Measuring and marking by hand still takes a lot of time. You still have to tape by hand the key blocks. Curves are hard to tape without incremental expensive equipment.
- Using Pizza Box stencils:
Cons: Kits have a large number of stencils that take time to layout properly. Folded stencils do not lay flat. Have to fill in paint the breaks. One time use only.
- Using a Line Striping machine:
Cons: Outside only. Requires hand measurement and marking. The painted line is not as sharp as a taped or stenciled line. Curved lines are tricky.
- Using Stencil Ease stencils:
Pros: Layout is fast and easy using basic tools. Stencils allow easy, fast painting with sharp lines. Stencils can be used many times.
Cons: Must fill in breaks.Our basketball court stencils is perfect for contractors, school, and park districts. they are also for the DIY'ers who want to do a professional job. We carry High School, NCAA standard and FIBA European court standards.
Our newly redesigned stencils can setup the entire court in 20 minutes. Designed for regulation court sizes but adaptable a more limited backyard court set up as well. We have designed the stencils so that with only a plumb, string line and tape measure you can quickly get the squareness required to set up a perfect key.
What are the Key Dimensions of a Basketball Court?
-
What are the Key Dimensions of a Basketball Court?
- What is the diameter of a basketball hoop? 18 inches
- How high is the basketball hoop from the floor? 10 feet
- How far it from the front of the rim to the Free Throw Line? 13 feet
- How wide is the basketball Key Lane? The lane is 12 feet wide.
- How far is it from the backboard to the Free Throw Line? 15 feet
- What is the distance from the front of the backboard to the End Line? 4 feet on regulation courts ( though many courts do that have that much space.)
- What is the size of the half-circle at the top of the key? The half-circle has a 6 ft radius.
- What are the line widths for the key and 3 point line? 2 inches.
- What is the size of the Basketball Key or lane? It is 12 feet wide and 15 feet from the front of the backboard to the Free throw line. 19 feet from the end line to the Free Throw Line.
- What is are the dimensions of the overall Court? for NCAA and Pros, it is 94 feet long and 50 feet wide. The High School court is 84 feet long and 50 feet wide.
- What is the size of the Center Circle (Tip-off circle)? The circle has a 6 feet radius split by the division or Half Court line.
- What are the differences between the High School, NCAA, and NBA courts?
- High School: 84' length | 3 pt line from basket 19' x 9"
- NCAA: 90' length | 3 pt line from basket 20' x 9" (women) 22' x 22'
- NBA: 90' length | 3 pt line from basket 23' x 9"

