
Custom Stenciled Sign Project | Stencil Ease.
Posted by HEATH BRUSCATO

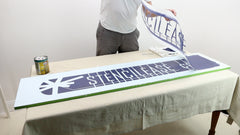
Save a bundle on a new sign for your business or organization with this Custom Stenciled Sign Project from Stencil Ease.
Here's what you'll need:


To order a custom stencil with your name or logo, call 1-800-334-1776 or...
- Custom Stencil Designer
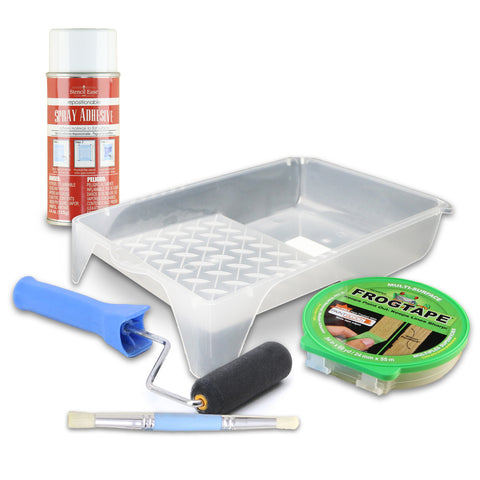
- High Density Foam Roller
- Stencil Brush
- Repositionable Spray Adhesive
- Reusable Paint Tray
- Frog Tape
- Wood for Sign
- Exterior Paint (tester quantities if available)
Once you've selected your wood or other material, apply the base color using a couple of coats of exterior paint.
While the base coat dries, gather your supplies - this sign kit available on our website includes everything you need (except paint and paper towels).
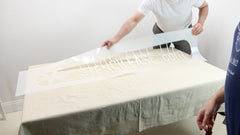


First, turn your bottom stencil over and spray the underside with Repositionable Spray Adhesive.
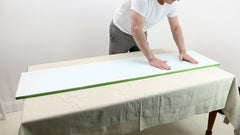
Next, position your stencil and press all areas to ensure good adhesion.


If you choose to, you can further secure the stencil to the board by adding a couple pieces of Frog Tape on either end.
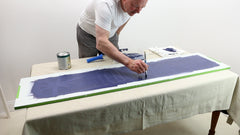
Shake or stir, then pour out a small amount of your first exterior color onto our Roller Paint Tray.
After loading the High Density Roller, remove excess paint using the drip pan and also by rolling it on a stack of paper towels.
The roller should be barely wet - too much paint will result in bleeding underneath the edges of the stencil.


Use a stencil brush to touch up the edges of the design.


Once finished, lift the stencil straight up and peel it away.
Now, mask the background surrounding the main color in order to fill in the stencil breaks.
Avoid putting tape on the main color if the paint is still wet.
Also mask the edges of the letters.
For thin areas, such as the underline beneath the name, you can either cut the tape to fit or just use a small craft brush to create straight fills along the line.
Use a roller and/or brush to fill in the gaps formed by the stencil bridges.
For lines that are too narrow for taping, you can use the edge of a putty knife as a mask.
Now, remove the tape and allow the main color to dry.


Next, spray the next stencil with Repositionable Spray Adhesive and position over the sign.
Pour out a small amount of the next color and apply it through the stencil as you did earlier.


To quickly add a second coat, use a hair dryer on the first coat to speed up the drying process.
Lift away the final stencil and, if necessary, use a small brush to touch up any spots that still need attention.

Your new sign is complete and beautiful and ready to welcome your next associate or client!
For more information, visit StencilEase.com today.
