Marking Restroom Doors with Women & Men Stencil
Posted by RANDY JAMES

Have a restroom door with no symbols? In this post we take you through the steps to marking bathroom doors with their respective Women & Men Symbols. You can find all the tools used in this tutorial on https://www.stencilease.com/
Women & Men Sign Stencil
Oneshot 3 inch Ink Roller
Repositionable Spray Adhesive
Frog Tape
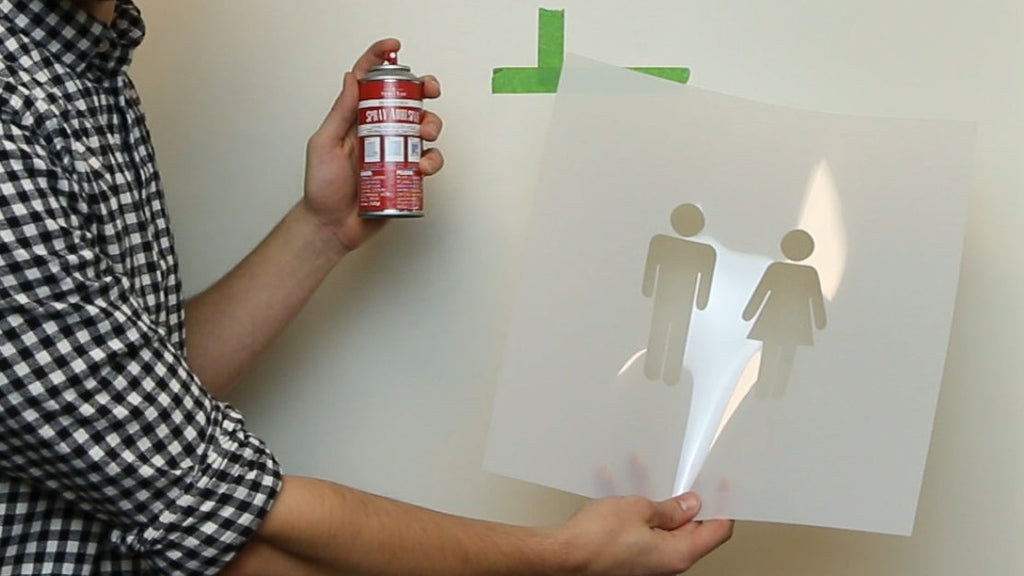
Start by finding the center of your door with a ruler. Mark the center line with a piece of Frog Tape and determine the height of your stencil placement. Spray the back of your Women & Men marking stencil with Repositionable Spray Adhesive then wait 30-60 seconds before pressing to your surface. Make sure you press the symbol to the center of your measurements then press down the details of the stencils.
With your stencil in place, use a piece of paper and Frog Tape Painter’s Tape to mask off the symbol you are not stenciling. We recommend using the Diagraph Oneshot 3 inch Ink Roller. Take your Oneshot Ink Roller and press the silver button to prime ink into the system. Roll the roller across a piece of scrap paper until ink comes out of the ink roller evenly.
Gently roll the Oneshot Ink Roller over the the stencil until the you have solid color fill. Once you’ve got it, gently lift your stencil from the surface and allow the ink to dry. Now it’s time to repeat the process on the next door.
Measure the center line and height so this symbol placement matches the other door. Press your stencil in place and peel the Frog Tape off the door beneath. Press the stencil details in place. Then mask off the other symbol with paper and more Frog Tape Painter’s Tape.
Make sure to roll the Oneshot Ink Roller onto a piece of scrap paper again to check that it is spreading evenly before rolling through your stencil. Then roll the Oneshot through the stencil until you get full coverage. Lift the stencil and allow the ink to dry!
For more information check out our video tutorial below!
