
Spray Paint an American Flag Stencil onto Wood
Posted by RODNEY MOSIER


Celebrate the stars and stripes of the United States of America with this patriotic American Flag Stencil by Stencil Ease. This two-part American flag stencil is to scale and comes in a variety of sizes from 1 foot to 5 feet tall! Paint this star-spangled banner on signs, parking lots banners, cornhole boards, and whatever else you can think of! Everything used in this spray paint tutorial is listed below, but you can also roll or brush your paint depending on the application! All that you’ll need to get is the spray paint.
- American Flag Stencil
- Stencil Ease Repositionable Spray Adhesive
- Frog Tape Painters Tape
- Americana Acrylic Gloss Sealer/Finisher
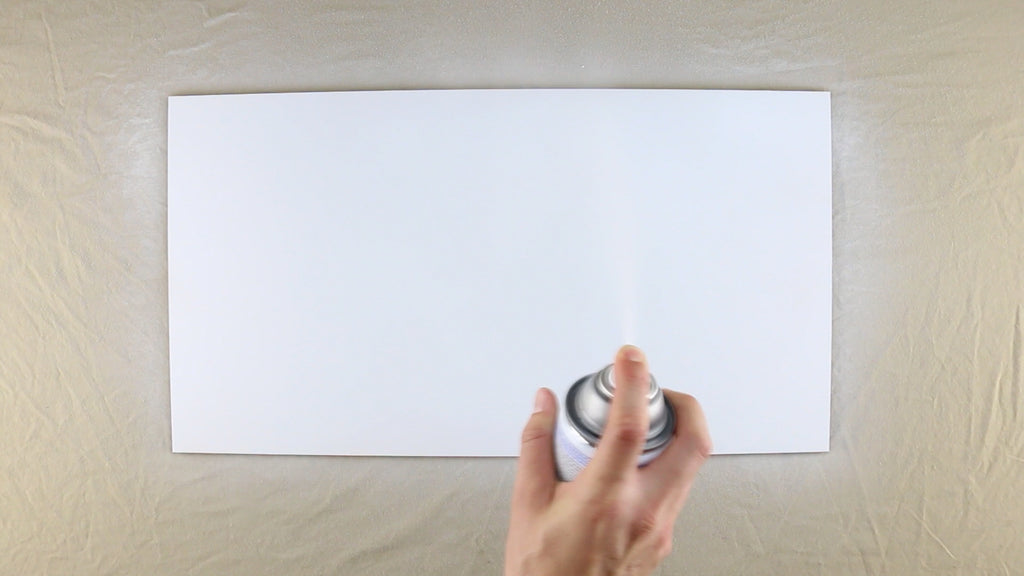
Start by painting the surface that you will be stenciling entirely white. If you are stenciling onto a larger surface then you will need to measure and mask off the dimensions that your flag will be. What you should have is a rectangle of white the same dimensions as your flag. For this project the piece of wood that we are stenciling has been cut to the dimensions of the flag.

The next step is to prepare the stripes stencil. Use Stencil Ease Repositionable Spray Adhesive on the back of it from about 6-8 inches away. Give the adhesive spray about 30-60 seconds to get tacky before pressing to your surface.
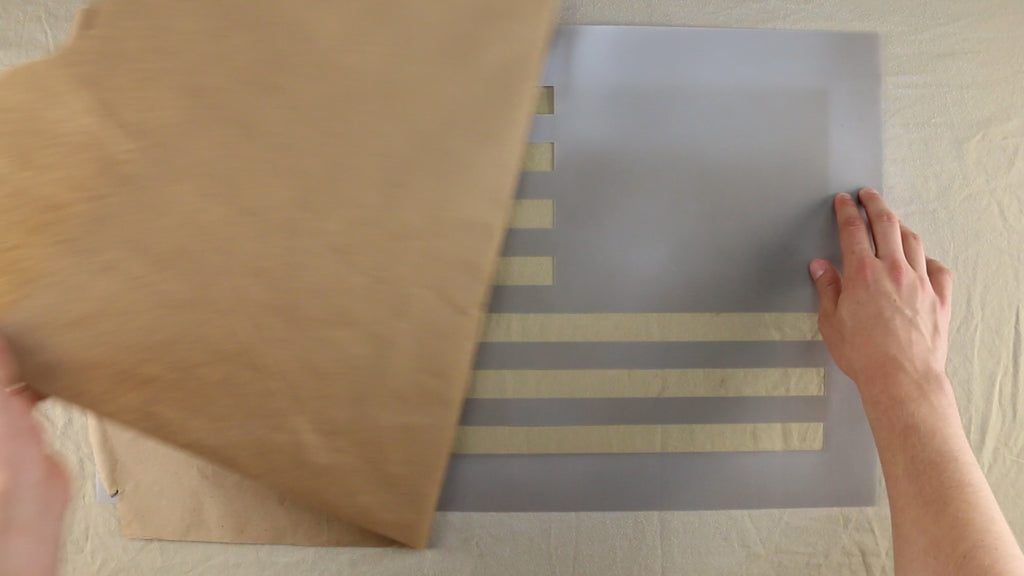
Before pressing the stencil to the project surface, you may want to remove any excess tackiness from the back of it. Press a piece of paper or newspaper to the back of the stencil and peel it off. This step will help reduce any excessive tackiness from using too much adhesive spray. Now the stencil is the perfect stickiness to press to your project surface and to stencil with.
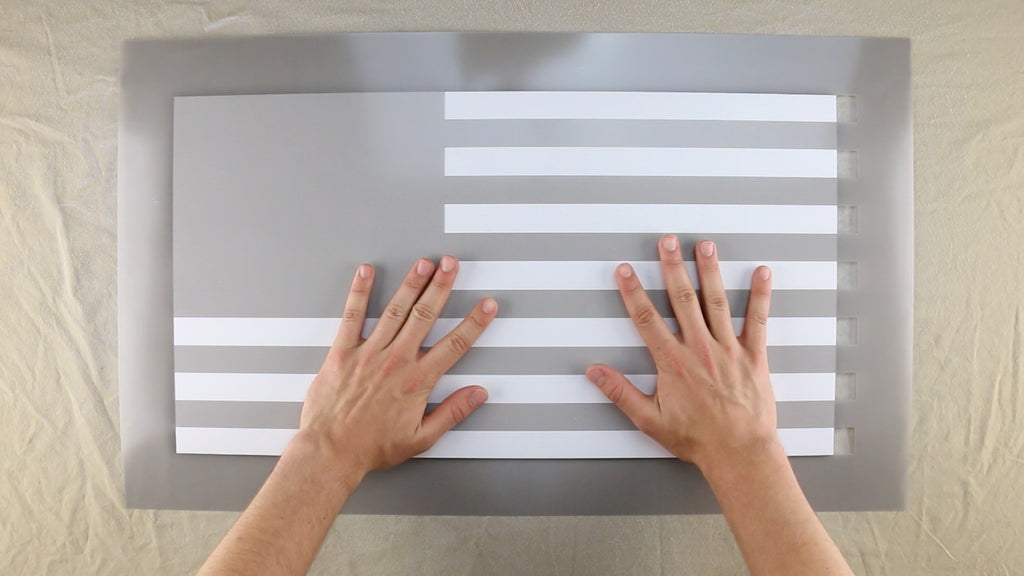
To adhere your stencil to the project surface, press the details of the design down flat. Be sure that the entire stencil is pressed down firmly. There should be no spots where the stencil does not lay flat.
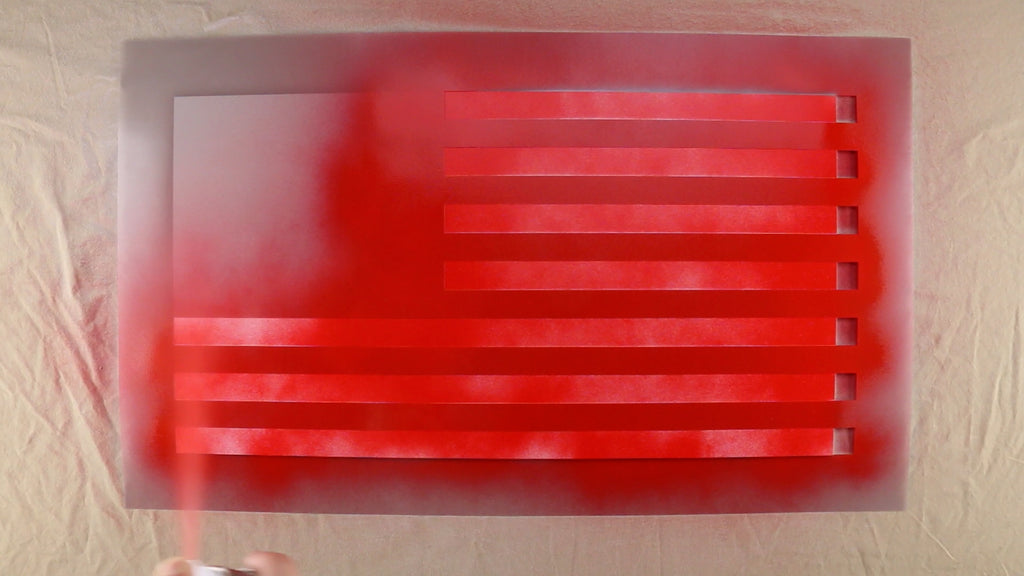
With the stencil in place you are ready to begin painting. Follow the directions on the can before using it. Shake the can and test it on a piece of paper towel before using on your project. Hold the can straight down and spray paint it from about 8-12 inches away. Apply the paint with a back and forth motion by building it up in 2-3 coats. If the paint begins to bead up on the project surface then stop for a few seconds for it to dry a little.

Once you have complete paint coverage through the stripes design you are ready to remove the stencil. Gently peel the stencil off the project surface. Let the paint dry for as long as directed on the can. You can also try using a hair dryer on low heat to speed up the process to get to the next step a little faster.
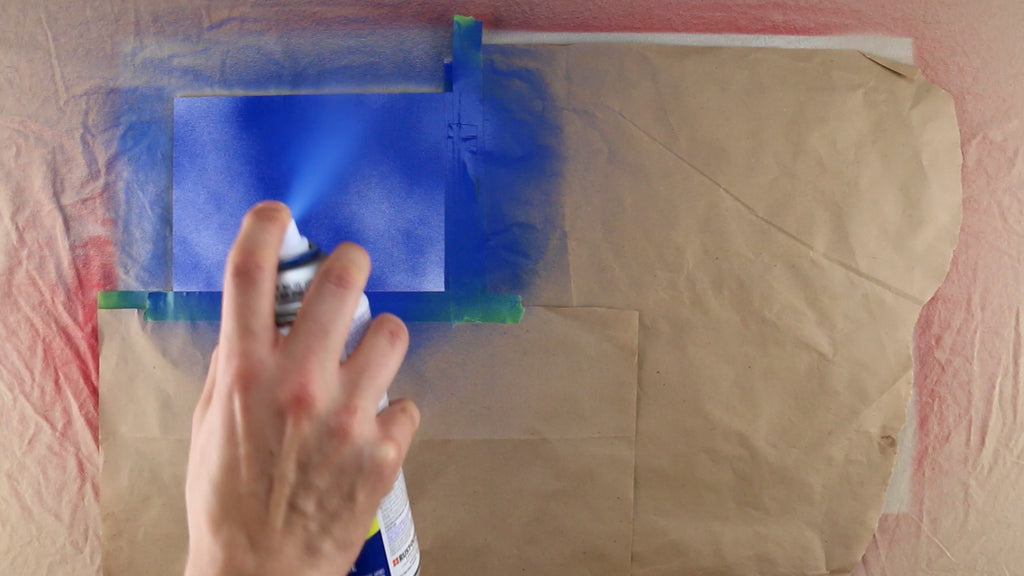
Next you will want to tape and mask off the square to paint blue. Tape above the white stripe below the short red stripe. Use newspaper or craft paper to keep paint off the rest of the project as you spray paint. Completely paint the square, remove the mask, and let the paint dry.
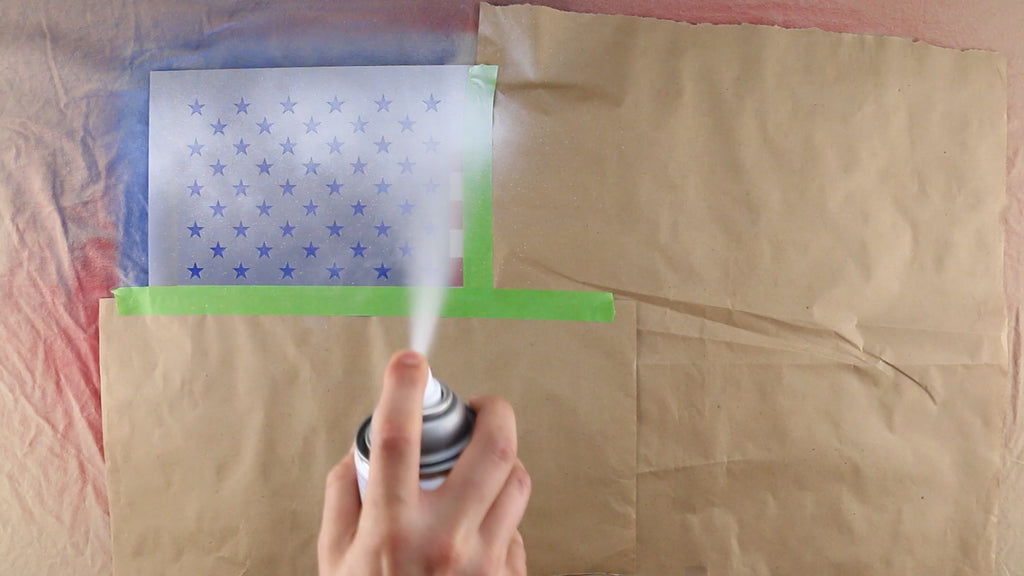
Now it is time to add the stars. Just as before, use Repositionable Spray Adhesive on the back of the star stencil and give it 30-60 seconds to become tacky. Line the stencil up on the blue square and press down firmly so that there are not gaps beneath the surface. Use white spray paint facing the surface directly to apply the paint from about 8-12 inches away. Be sure not to use too much paint so that pools up and bleeds beneath the stencil.
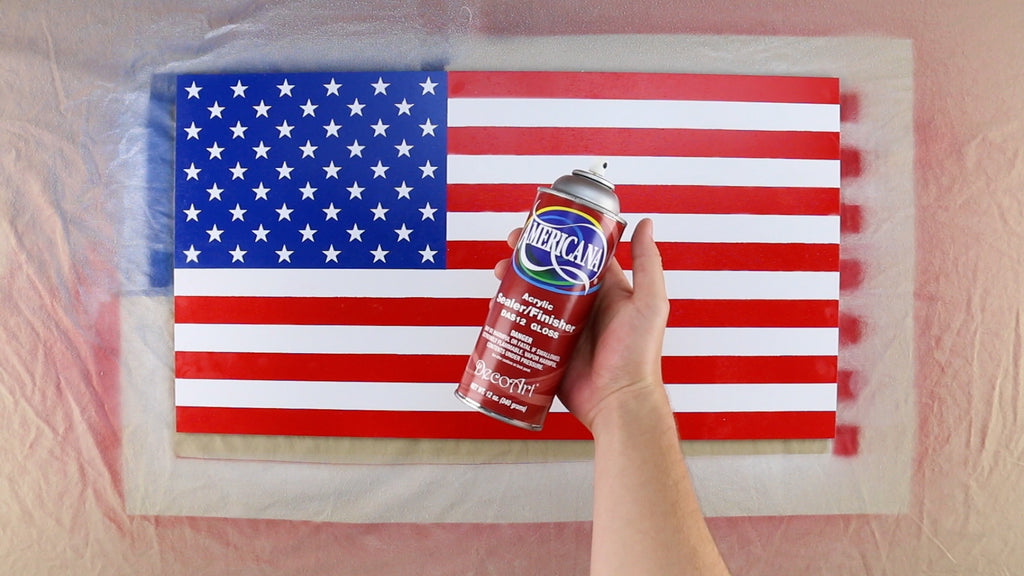
Gently peel off the stencil once it is ready, then let the paint dry. As an extra layer of protection, we used a layer of Americana Acrylic Gloss Sealer Spray. The gloss spray will give a coat of shine and enhance the colors of your American flag. The acrylic spray will also give your project a permanent waterproof coating.
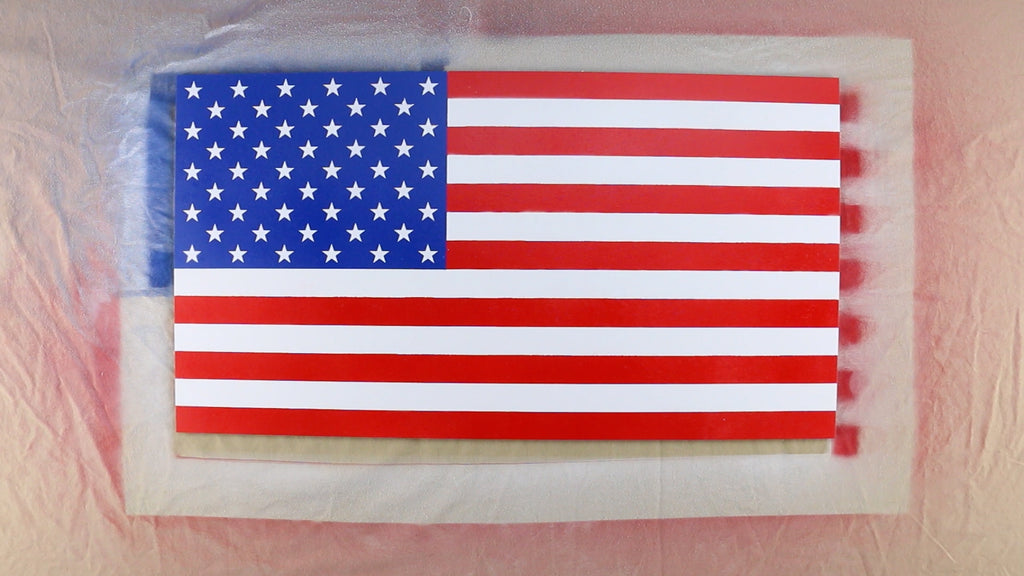
Turn to Stencil Ease for your patriotic, American Flag stenciling needs. This stencil comes in 5 different sizes: 12 x 22.8 inches, 24 x 45.6 inches, 36 x 68.4 inches, 44 x 83.6 inches, and 60 x 114 inches. If you want to stencil the flag in a size not listed here, send our customer service team an email at service@stencilease.com and we will help you out! For more step by step instructions, check out the video below!
