
Using a Spray Box to Spray Paint Parking Lot Line Stencil
Posted by RODNEY MOSIER

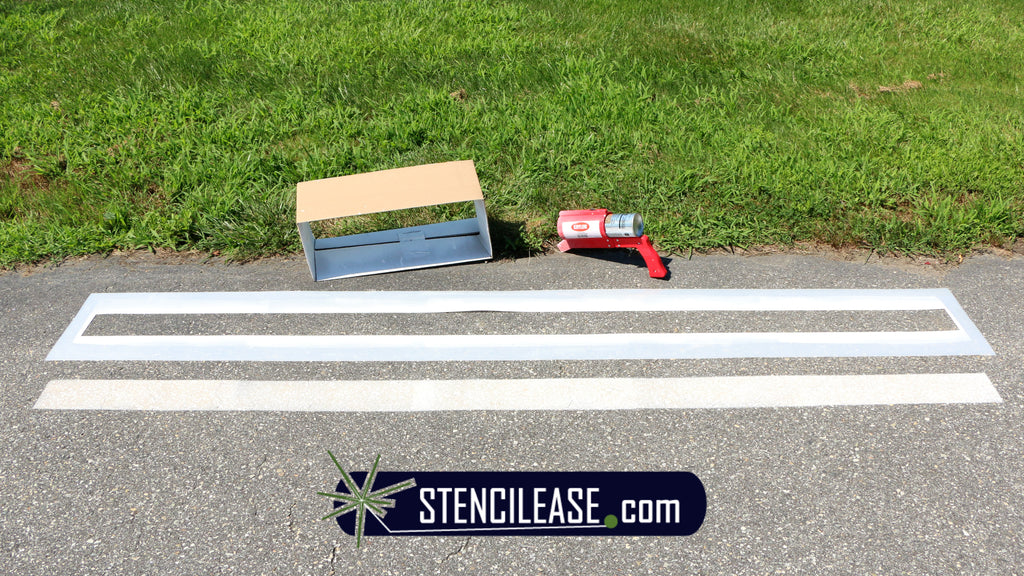
In this tutorial Stencilease.com wants to show you how to spray paint parking lot lines the right way using a spray box. Prevent paint from unnecessarily straying outside the stencil borders by using this cheap trick that works every time! The secret is pictured above, a cardboard box with the top and bottom pushed out; we call this the spray box. Listed below is everything else you will need to spray paint parking lot lines yourself:
- StencilEase Parking Lot Line Stencil
- Krylon Professional Striping Paint - Solvent Based
- Krylon Inverted Marking Wand 12 inch spotter
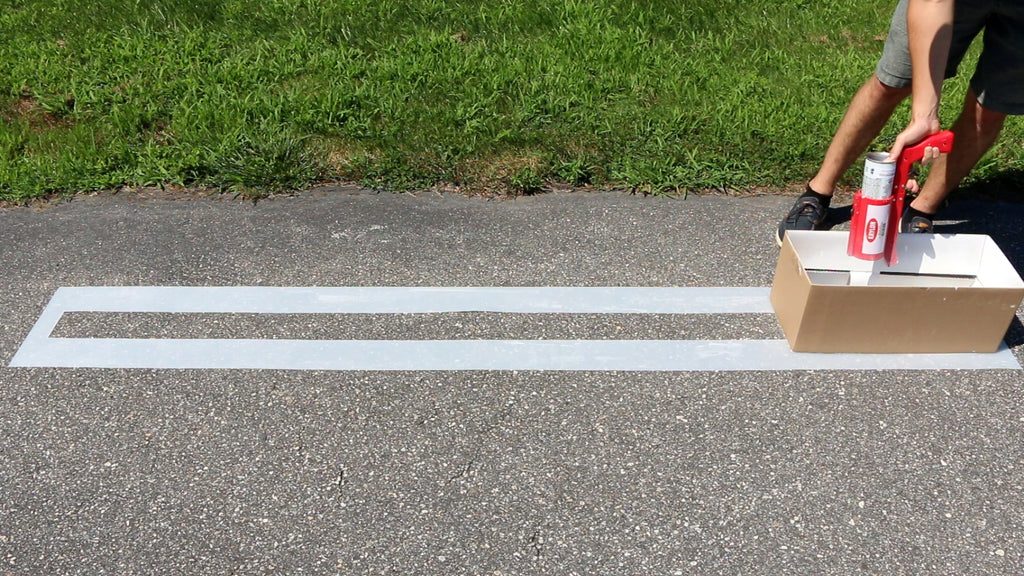
Using the spray box is a simple trick to keep spray paint from going beyond the stencil. Simply place the open end of the spray box flat against the surface of your stencil. To spray paint this parking lot line we use Krylon Professional Striping Paint with the Krylon Inverted Marking Wand.

Hold the nozzle of the Krylon Professional Striping Paint below the top edge of the box to apply the paint. The cardboard spray box forms a wall between the edges of your stencil and the surrounding pavement. As you paint the line continue moving the spray box along so that it overlaps the previously painted section.
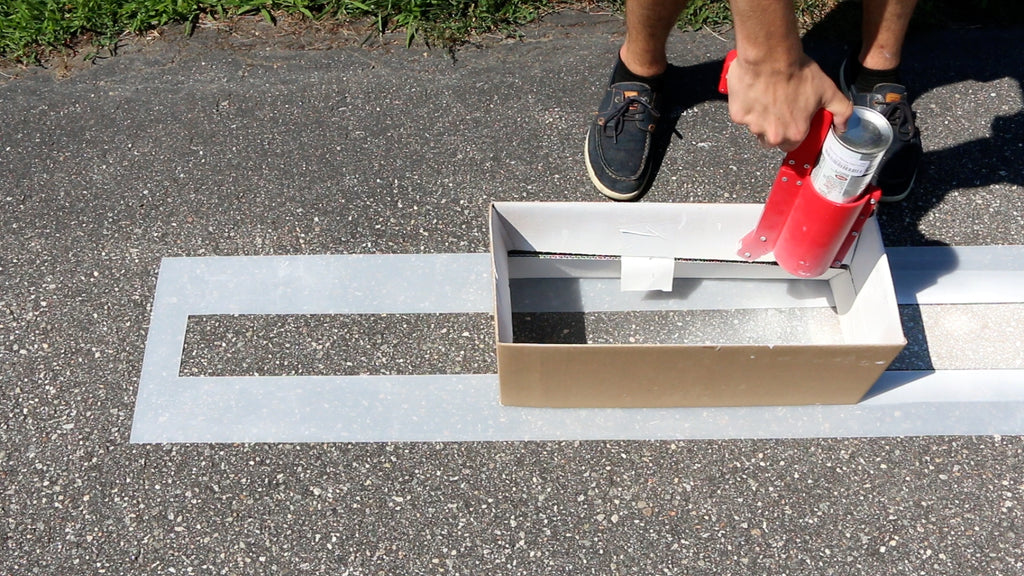
The purpose of the spray box is to prevent spray paint from going past the boundaries of the stencil and getting onto the surrounding area. In order for the spray box to work properly it must not be wider or longer than the stencil. In addition, you have to use a spray box that is tall enough for proper application of the spray paint. Finally, always make sure the nozzle of the spray paint canister is below the top of the spray box in order to keep it confined to the area of the stencil.
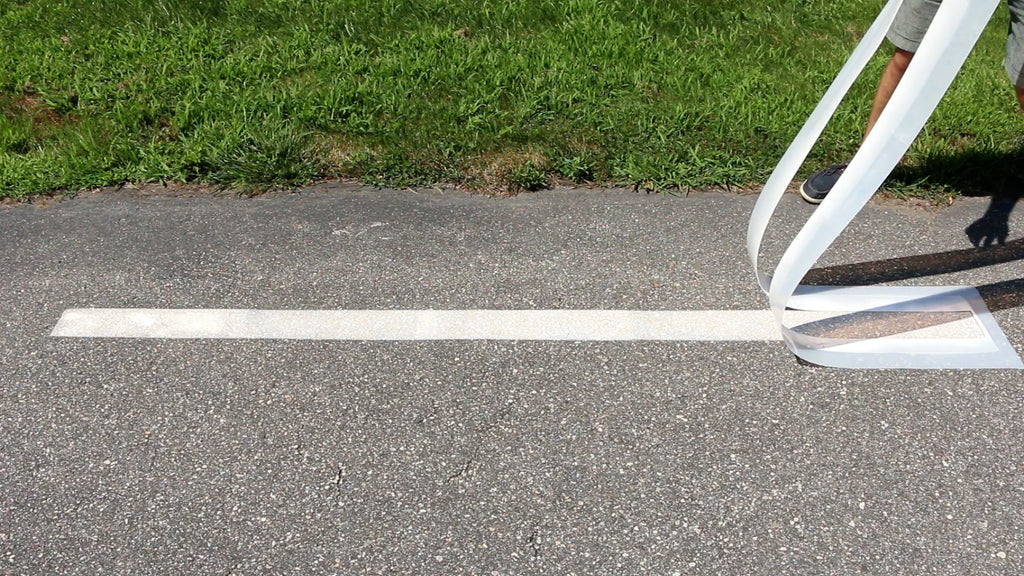
Once you have finished stenciling you are ready to remove the stencil. Carefully set the spray box to the side so that any excess paint on the cardboard does not drip onto the pavement. Starting at one end of the line, lift the stencil off the pavement. You can also have someone help you by standing at the other end of the stencil to lift it straight off the pavement. Now you can line the stencil up in the next spot to continue spray painting lines!
Your spray box may be used continuously throughout your parking lot. If you have any additional questions be sure to check out the video above!
#ParkingLotLines #LineStriping #SprayPaint
