Pickleball Court Stencil Easy DIY stencil set for Home or Park
SKU: CC0335-264-L060
 Product Details
Pickleball Overview
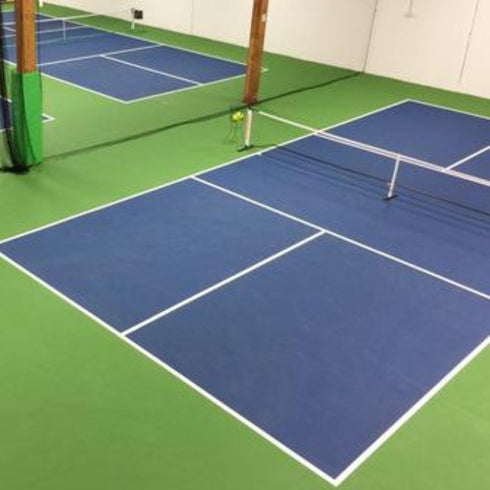
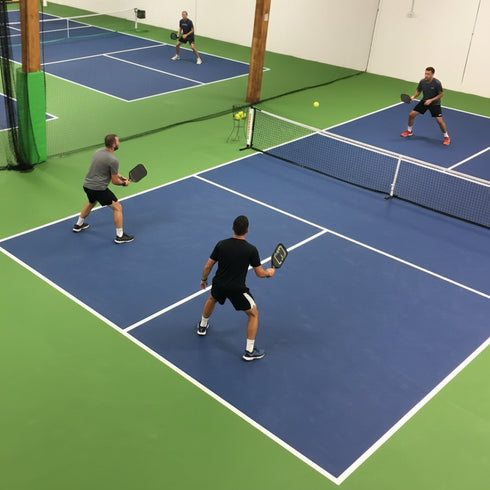
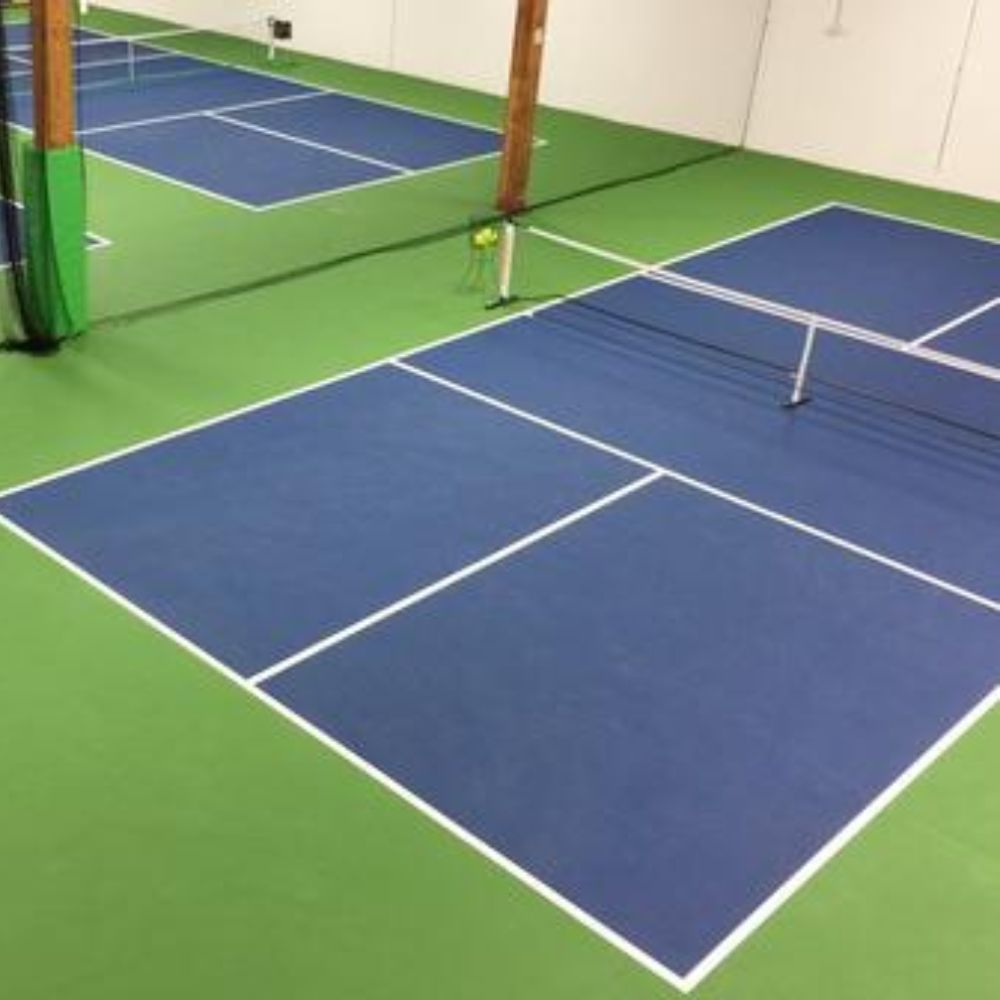
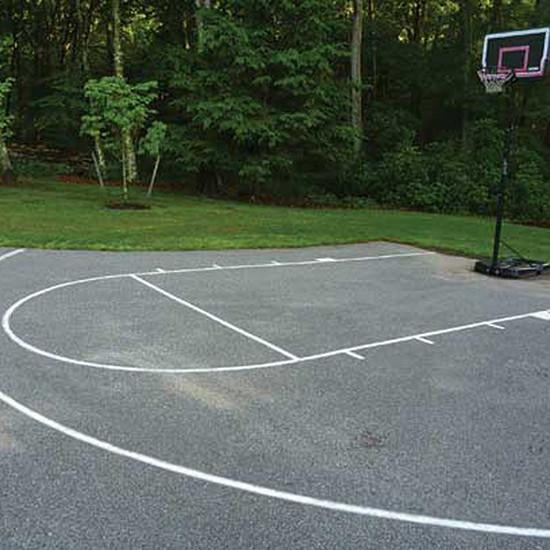
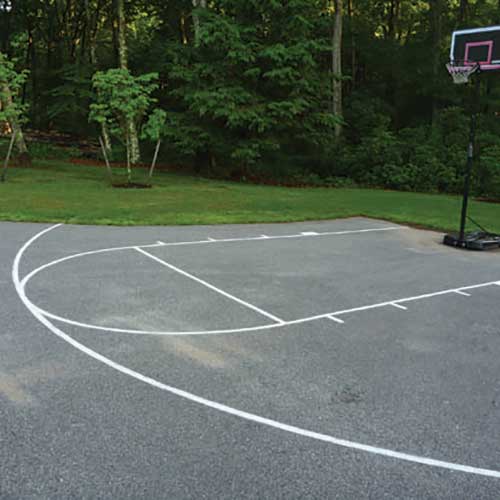
Transform any flat surface into a pickleball court with our Pickleball Court Stencil kit. Whether it's your driveway, backyard, or a community park, this easy-to-use stencil makes painting a regulation-size court fast and accurate. Made from durable, reusable 1/16th inch LLDPE, this stencil allows you to create sharp, professional-grade court lines with ease. Perfect for indoor and outdoor use, it's an affordable solution for pickleball enthusiasts who want to set up a game anytime, anywhere.
This stencil kit is designed to withstand repeated use, giving you the freedom to mark new courts or refresh faded lines whenever needed. Ideal for schools, recreation centers, or home use.
Key Features:
- Quick and Easy Application: Simple setup lets you paint a half or full pickleball court in minutes.
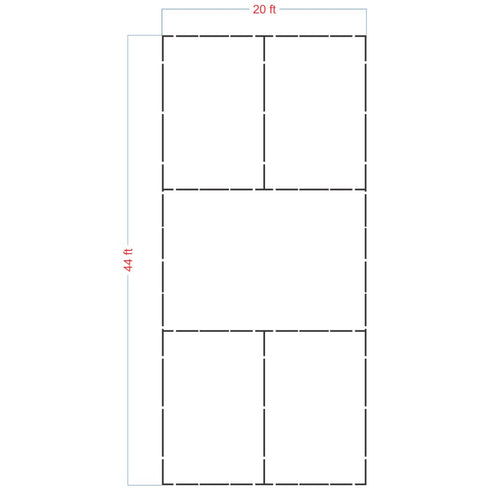
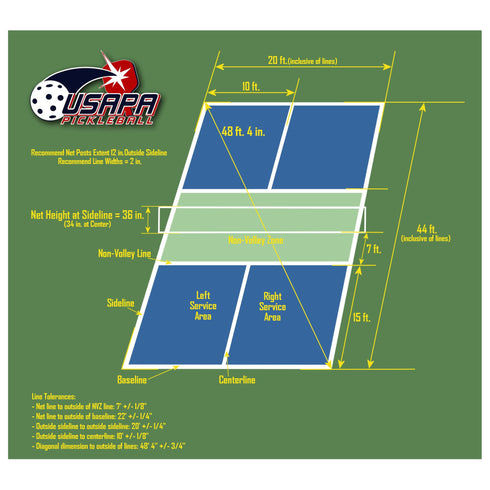
- Regulation-Sized: Perfect dimensions to USAPBA guidelines, square and accurate.
- Durable and Reusable: Made from high-quality, reusable, washable, and storable LLDPE material for hundreds of uses on indoor and outdoor surfaces.
- Perfect for Any Surface: Works on concrete, asphalt, or wood surfaces.
- Affordable DIY Solution: No need for expensive court painting services.
Order your Pickleball Court Stencil today and start playing pickleball in your own space!
For information on the rules and court setup of Pickleball, please go to the USAPA website.

How to Paint a Pickleball Court:
- Layout court on a North-South azimuth to reduce the impact of the sun if possible.
- Prepare the surface of the court. Clean, fill in cracks, etc.
- Establish the line of the Net ( should be in the middle of your overall space.) We recommend chalking this line.
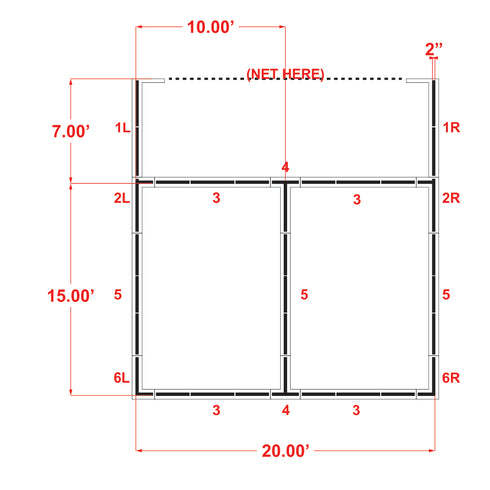
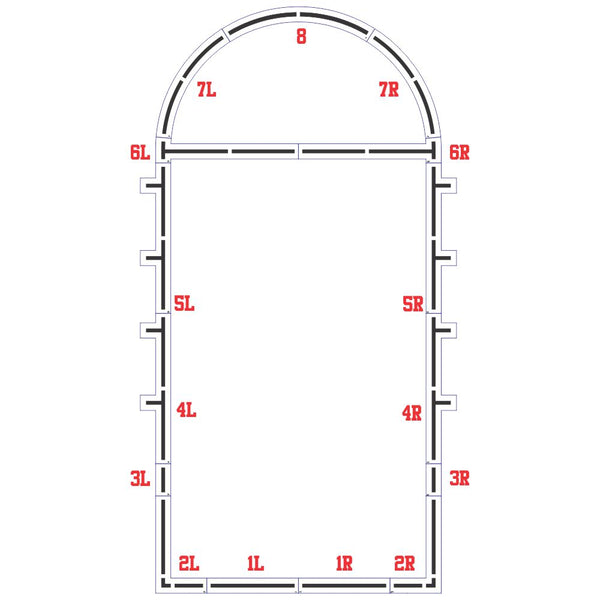
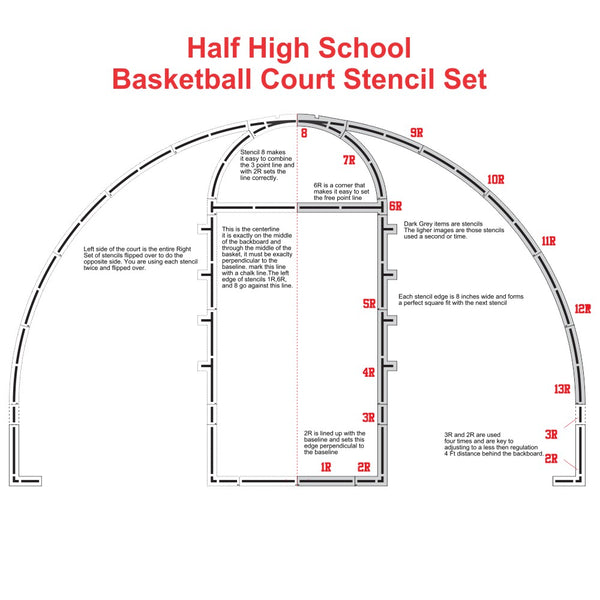
- Layout the stencil for 1 half-court start with 1L and 1R with the edge of the short leg of this L shaped stencil against the center of the net line. Adjust and center the space between 1L and 1R so that stencils 2L, 2R, two of stencil 3, and stencil 4 fit across the Non-Volley line as shown in our diagram.
- Once those are adjusted fill in with the rest of the stencils. Adjust so that the lines and stencil are straight and the stencils fit squarely end to end.
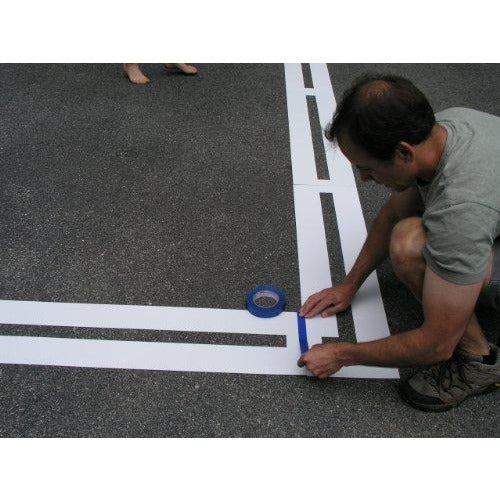
- Once the stencil is set use tape or bricks to guard against someone kicking the stencils out of place.
- If you are painting the interior of the court a special color, ( blue is favored, and often the space between the net and Non-volley line is painted a different color as this is a large area we recommend rolling. Mark or tape the outside of the stencils enough so that you can easily relocate the stencils. The corners are especially important. Remove the stencil and roll in between the lines. You do not have to worry about cutting in the lines perfectly; you will cover those again with the line paint.
- After the interior is dry, Again, layout the stencil. .Repeating steps 4 and 5 (there are multiple "5" pieces, they are the same size and are interchangeable) using the marks from step 6.
- Paint the lines within the stencils either with spray paint or with a dry brush so that paint does not bleed under the stencil. Repeat for a clearer line.
- Our stencils have breaks to keep them sturdier, fill in those breaks. You can use a single stencil and place it so that it establishes the sides of the breaks and fill in with spray or a small brush.
- After the paint is dry remove the stencils. Repeat for the other half of the court.
- After you are finished, clean the stencils and store for the next time.
 Material Guide
1/8th inch (125 mil) LLDPE: Our Contractor Grade material makes a durable, reusable, precision stencil that can be used hundreds of times. Lays Flat and is heavy enough to be used with professional spray equipment.
1/16th inch (60 mil) LLDPE: Our Standard Duty material has all the qualities of our Contractor Grade at half the weight. The lighter weight and lower price point is a great option for the non-professional. Can be used dozens of times and can be cleaned and stored for future maintenance.
10 mil Mylar: Our Laser-cut Mylar is an ultra-light flexible material that is perfect for signs, walls, floors, and tight work spaces. We also offer it as a low-cost option for school playground and athletic fields stencils. This flexible material and budget friendly price give you a lot of options.
See our Stencil Material Selection Guide for a deeper look at all our stencil Material options.
 Helpful Tools & Tips
1/8th and 1/16th users can save time and be job ready by ordering these needed supplies now:
Tip: How to get the most from your new Parking Lot Stencil: Stencil Cleaning & Care
Mylar users will appreciate the clear results from using these proven tools:
Tip: Visit our library of Video Tutorials for more detailed instructions and how-to videos.
Pickleball Overview
Transform any flat surface into a pickleball court with our Pickleball Court Stencil kit. Whether it's your driveway, backyard, or a community park, this easy-to-use stencil makes painting a regulation-size court fast and accurate. Made from durable, reusable 1/16th inch LLDPE, this stencil allows you to create sharp, professional-grade court lines with ease. Perfect for indoor and outdoor use, it's an affordable solution for pickleball enthusiasts who want to set up a game anytime, anywhere.
This stencil kit is designed to withstand repeated use, giving you the freedom to mark new courts or refresh faded lines whenever needed. Ideal for schools, recreation centers, or home use.
Key Features:
- Quick and Easy Application: Simple setup lets you paint a half or full pickleball court in minutes.
- Regulation-Sized: Perfect dimensions to USAPBA guidelines, square and accurate.
- Durable and Reusable: Made from high-quality, reusable, washable, and storable LLDPE material for hundreds of uses on indoor and outdoor surfaces.
- Perfect for Any Surface: Works on concrete, asphalt, or wood surfaces.
- Affordable DIY Solution: No need for expensive court painting services.
Order your Pickleball Court Stencil today and start playing pickleball in your own space!
For information on the rules and court setup of Pickleball, please go to the USAPA website.

How to Paint a Pickleball Court:
- Layout court on a North-South azimuth to reduce the impact of the sun if possible.
- Prepare the surface of the court. Clean, fill in cracks, etc.
- Establish the line of the Net ( should be in the middle of your overall space.) We recommend chalking this line.
- Layout the stencil for 1 half-court start with 1L and 1R with the edge of the short leg of this L shaped stencil against the center of the net line. Adjust and center the space between 1L and 1R so that stencils 2L, 2R, two of stencil 3, and stencil 4 fit across the Non-Volley line as shown in our diagram.
- Once those are adjusted fill in with the rest of the stencils. Adjust so that the lines and stencil are straight and the stencils fit squarely end to end.
- Once the stencil is set use tape or bricks to guard against someone kicking the stencils out of place.
- If you are painting the interior of the court a special color, ( blue is favored, and often the space between the net and Non-volley line is painted a different color as this is a large area we recommend rolling. Mark or tape the outside of the stencils enough so that you can easily relocate the stencils. The corners are especially important. Remove the stencil and roll in between the lines. You do not have to worry about cutting in the lines perfectly; you will cover those again with the line paint.
- After the interior is dry, Again, layout the stencil. .Repeating steps 4 and 5 (there are multiple "5" pieces, they are the same size and are interchangeable) using the marks from step 6.
- Paint the lines within the stencils either with spray paint or with a dry brush so that paint does not bleed under the stencil. Repeat for a clearer line.
- Our stencils have breaks to keep them sturdier, fill in those breaks. You can use a single stencil and place it so that it establishes the sides of the breaks and fill in with spray or a small brush.
- After the paint is dry remove the stencils. Repeat for the other half of the court.
- After you are finished, clean the stencils and store for the next time.
We optimize each shipment to minimize the expense.
We offer Standard, Expedited, and International options and shipping is calculated at checkout
Please see our Shipping Policy for more details
Please use our Custom Stencil Maker to create your custom stencil yourself or Create A Custom Stencil to send our Design Team your requirements.
Our Customer Service Representatives are available Monday - Friday 10 am - 4 pm (ET)

