Using Lettering Stencils to Mark Surfaces
Posted by ALISON OLESEN

Have you ever needed to mark your tools or property but need to repeat the design on many surfaces? https://www.stencilease.com/ has got you covered with our Lettering Stencil Sets and Custom Stencil Designer. Mark your next project with a one of the many lettering sets Stencil Ease has to offer.
Used in this tutorial:
Arial Letter and Number 1″ Stencil Set – https://bit.ly/2OGbczb
Custom Stencil Designer – https://bit.ly/2PmFuMC
Repositionable Spray Adhesive – https://bit.ly/2OFWBsd
Frog Tape Painter’s Tape – https://bit.ly/2OEUJ2Z
Diagraph Oneshot Inkroller – https://bit.ly/2S9mC1u
Self-Healing Cutting Mat – https://bit.ly/2z91nEX
To use our lettering sets, start by figuring out how many of each letter you may need. Spell out the word or number you will be marking and count the number of times each letter appears. The highest number will tell you how many letter kits you will need. You may also order letters individually from our letter selector here; https://bit.ly/2RT2kID
Use a self-healing cutting mat that has been sprayed with repositionable spray adhesive to lay out your letters in a level line. Use little pieces of Frog Tape to hold each letter to the next. With all your words in place, attach them with a single piece of Frog Tape, then attach scrap paper around the word so that it forms a border around the words. After this, spray the back of the letters and the paper with Repositionable Spray Adhesive.
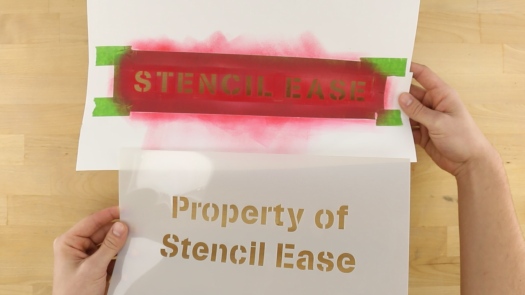
While the Spray Adhesive becomes tacky, spread the ink out of the Diagraph Oneshot Inkroller onto a piece of scrap paper. Press the silver button 2-3 times if the ink is slow to roll out. Once you are getting even coverage you can roller the design onto your surface. We needed to attach either end of our stencil to the surface with Frog Tape. As you roll the inkroller make sure you are not applying to much pressure so that the ink does not seep beneath the letters of the design. When you get even coverage peel the stencil off the surface.
Repeat the stencil designs as many times as you would like. If you wish for additional words we recommend using out custom stencil designer found here – https://bit.ly/2PmFuMC
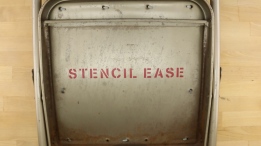
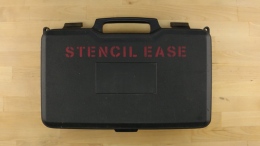
The Diagraph Oneshot Inkroller works on a variety of surfaces from wood, to plastic, to metal. Our stencils are flexible enough to wrap around curved surfaces. Together they are ideal for just about any surface you need to mark with lettering.
With our Custom Stencil App you can get your words or lettering in any size and many fonts!
If you wish to browse our selection of lettering stencils please visit https://bit.ly/2OIiTFf and be sure to check out the video below!


