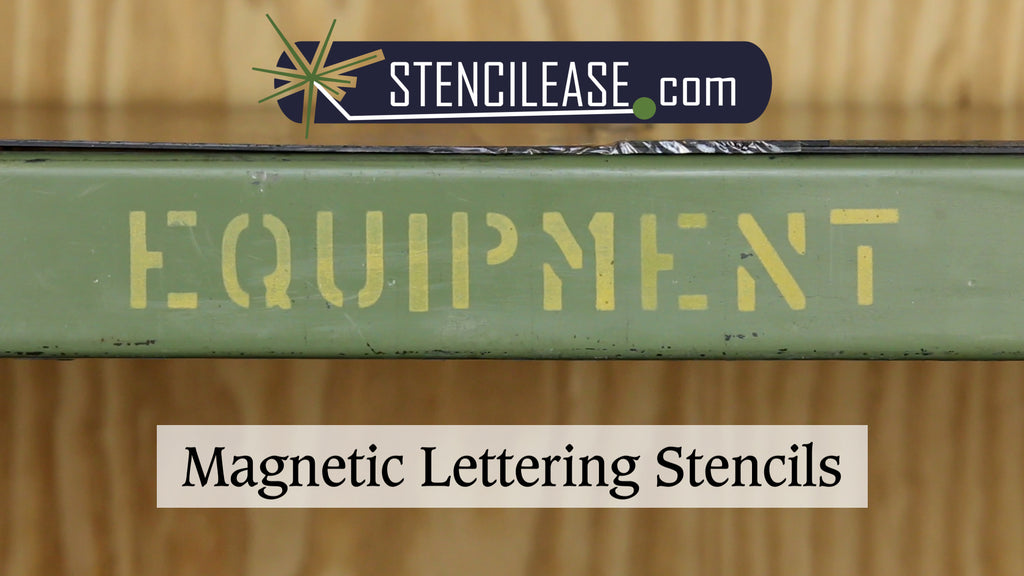
Labeling Metal Surfaces Using Stencil Ease Magnetic Lettering Stencils
Posted by RODNEY MOSIER


If your business is looking for permanent, professional-looking labels to help keep things organized, look no further than Stencil Ease Magnetic Lettering Stencils. These magnetic stencils work great for both industrial and home applications. Each set includes all the letters of the alphabet, numbers 0 through 9, as well as commonly used punctuation and spacers. This tutorial will demonstrate the ease of use of the Stencil Ease Magnetic Lettering Stencils.

Once you have chosen the word you want labeled, place the letters on your magnetic surface. For repeating letters, use the spacer provided to mask off the space within the word.

Use Frog Tape to mask off any areas that you wish to keep free from ink.

Next, install the ink cartridge in your OneShot Ink Roller according to the included instructions.

Load the Ink Roller with ink by first shaking the assembly. Next, roll the roller on a disposable surface, such as cardboard, while occasionally and repeatedly pressing the primer button. Repeat this step until ink is evenly distributed from the roller onto the cardboard. Be careful not to overload the roller with ink, which can lead to stencil bleeding.

Apply several light coats of ink, being sure to change direction for even coverage.

Once the final coat is applied, move the duplicate letter to its next position.

Frog Tape can also be used to help hold the stencils in place.

Repeat the ink application process for any remaining letters.

Now you are ready to remove all the masking material.

Stencil Ease’s Magnetic Lettering Stencils can be used for a variety of labeling jobs, including, but not limited to machinery, steel shelving, mailboxes, metal signs, commercial vehicles, gates, lockers, and doors.
For more information, visit www.stencilease.com or check out the video below!

